If you’ve spent any time on a gear production floor, you’ve seen it: the vibration marks on a freshly cut gear tooth flank, the unexpected tool failure mid-batch, the gears that pass visual inspection but fail dramatically in assembly. Gear machining problems cost manufacturers millions in scrap, rework, and unplanned downtime every year.
This guide tackles the five most persistent challenges in gear manufacturing – and more importantly, provides specific, actionable solutions that production engineers can implement immediately. Each section follows the same structure: identify the symptom, diagnose the root cause, and apply the fix.
These are not theoretical recommendations. They’re the same diagnostic approaches and solutions that Nobeve’s technical support team uses when working with manufacturers around the world to optimize their gear production processes.
Problem 1: Hob Chatter Marks on Gear Tooth Flanks
Symptoms: Regular, periodic waviness appears on the tooth flank surface – visible under good lighting or with a simple surface roughness gauge. The marks are evenly spaced along the tooth face and repeat on every tooth.
Root Causes
Chatter marks are almost always a dynamic instability problem – the cutting process is exciting a natural frequency in the machine-workpiece-tool system. Common causes include:
- Excessive cutting parameters: Feed rates or cutting speeds that excite the system natural frequency
- Poor machine rigidity: Spindle bearings, way slides, or workpiece clamping with insufficient damping
- Hob runout: The hob is not rotating truly on its axis, causing periodic variations in cutting depth
- Clamping instability: The workpiece arbor or fixture is not sufficiently rigid
Solutions
Start with the easiest fixes first:
- Reduce axial feed rate by 20-30%: This is often the single most effective change. The reduced feed lowers the dynamic cutting force, moving the system away from the resonant frequency. Monitor surface finish as you reduce feed – there’s a sweet spot where marks disappear without excessive cycle time penalty.
- Check hob runout: Use a dial indicator to measure radial runout at the cutting edges. Runout above 0.02 mm on a new hob suggests a mounting problem. On reground hobs, runout can develop from uneven wear or improper resharpening.
- Adjust cutting speed: If the chatter frequency corresponds to a specific speed, skipping through that RPM range during setup can eliminate the problem. Modern CNC gear machines can often avoid the critical speeds automatically.
- Inspect the machine: Check spindle bearing condition, way slide preload, and fixture rigidity. If the machine hasn’t been serviced in years, this is often where the real problem lies.
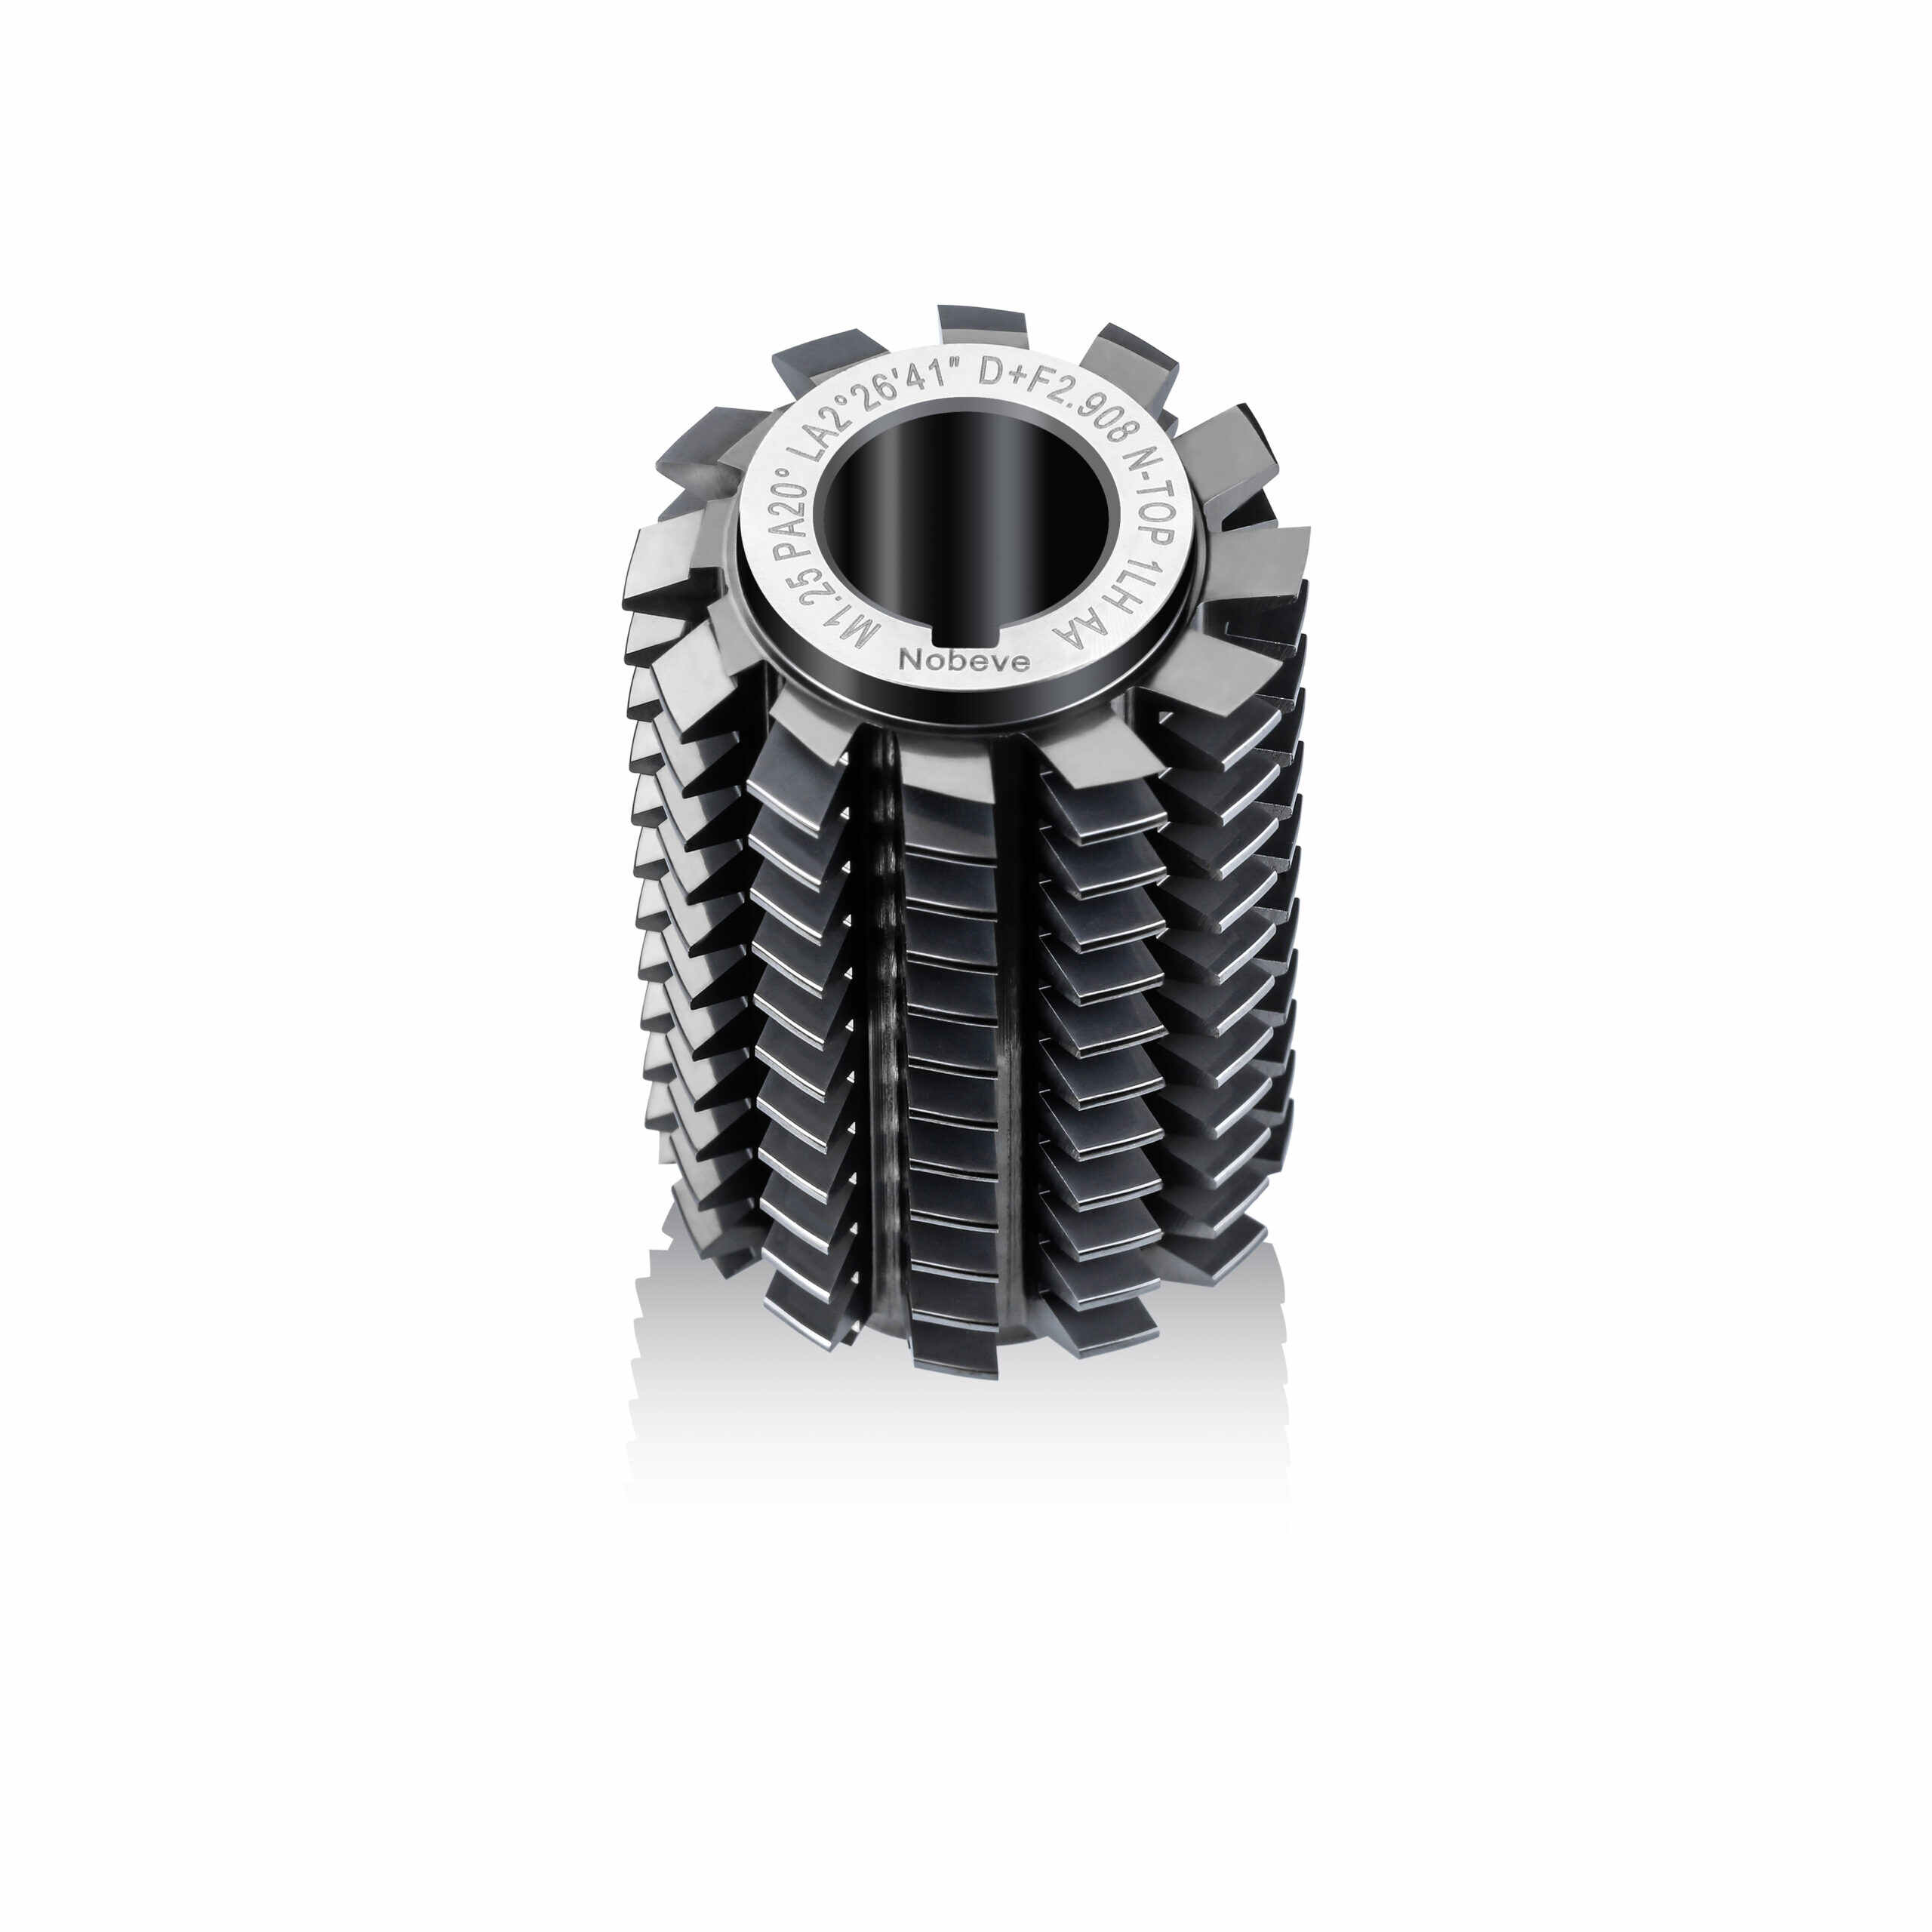
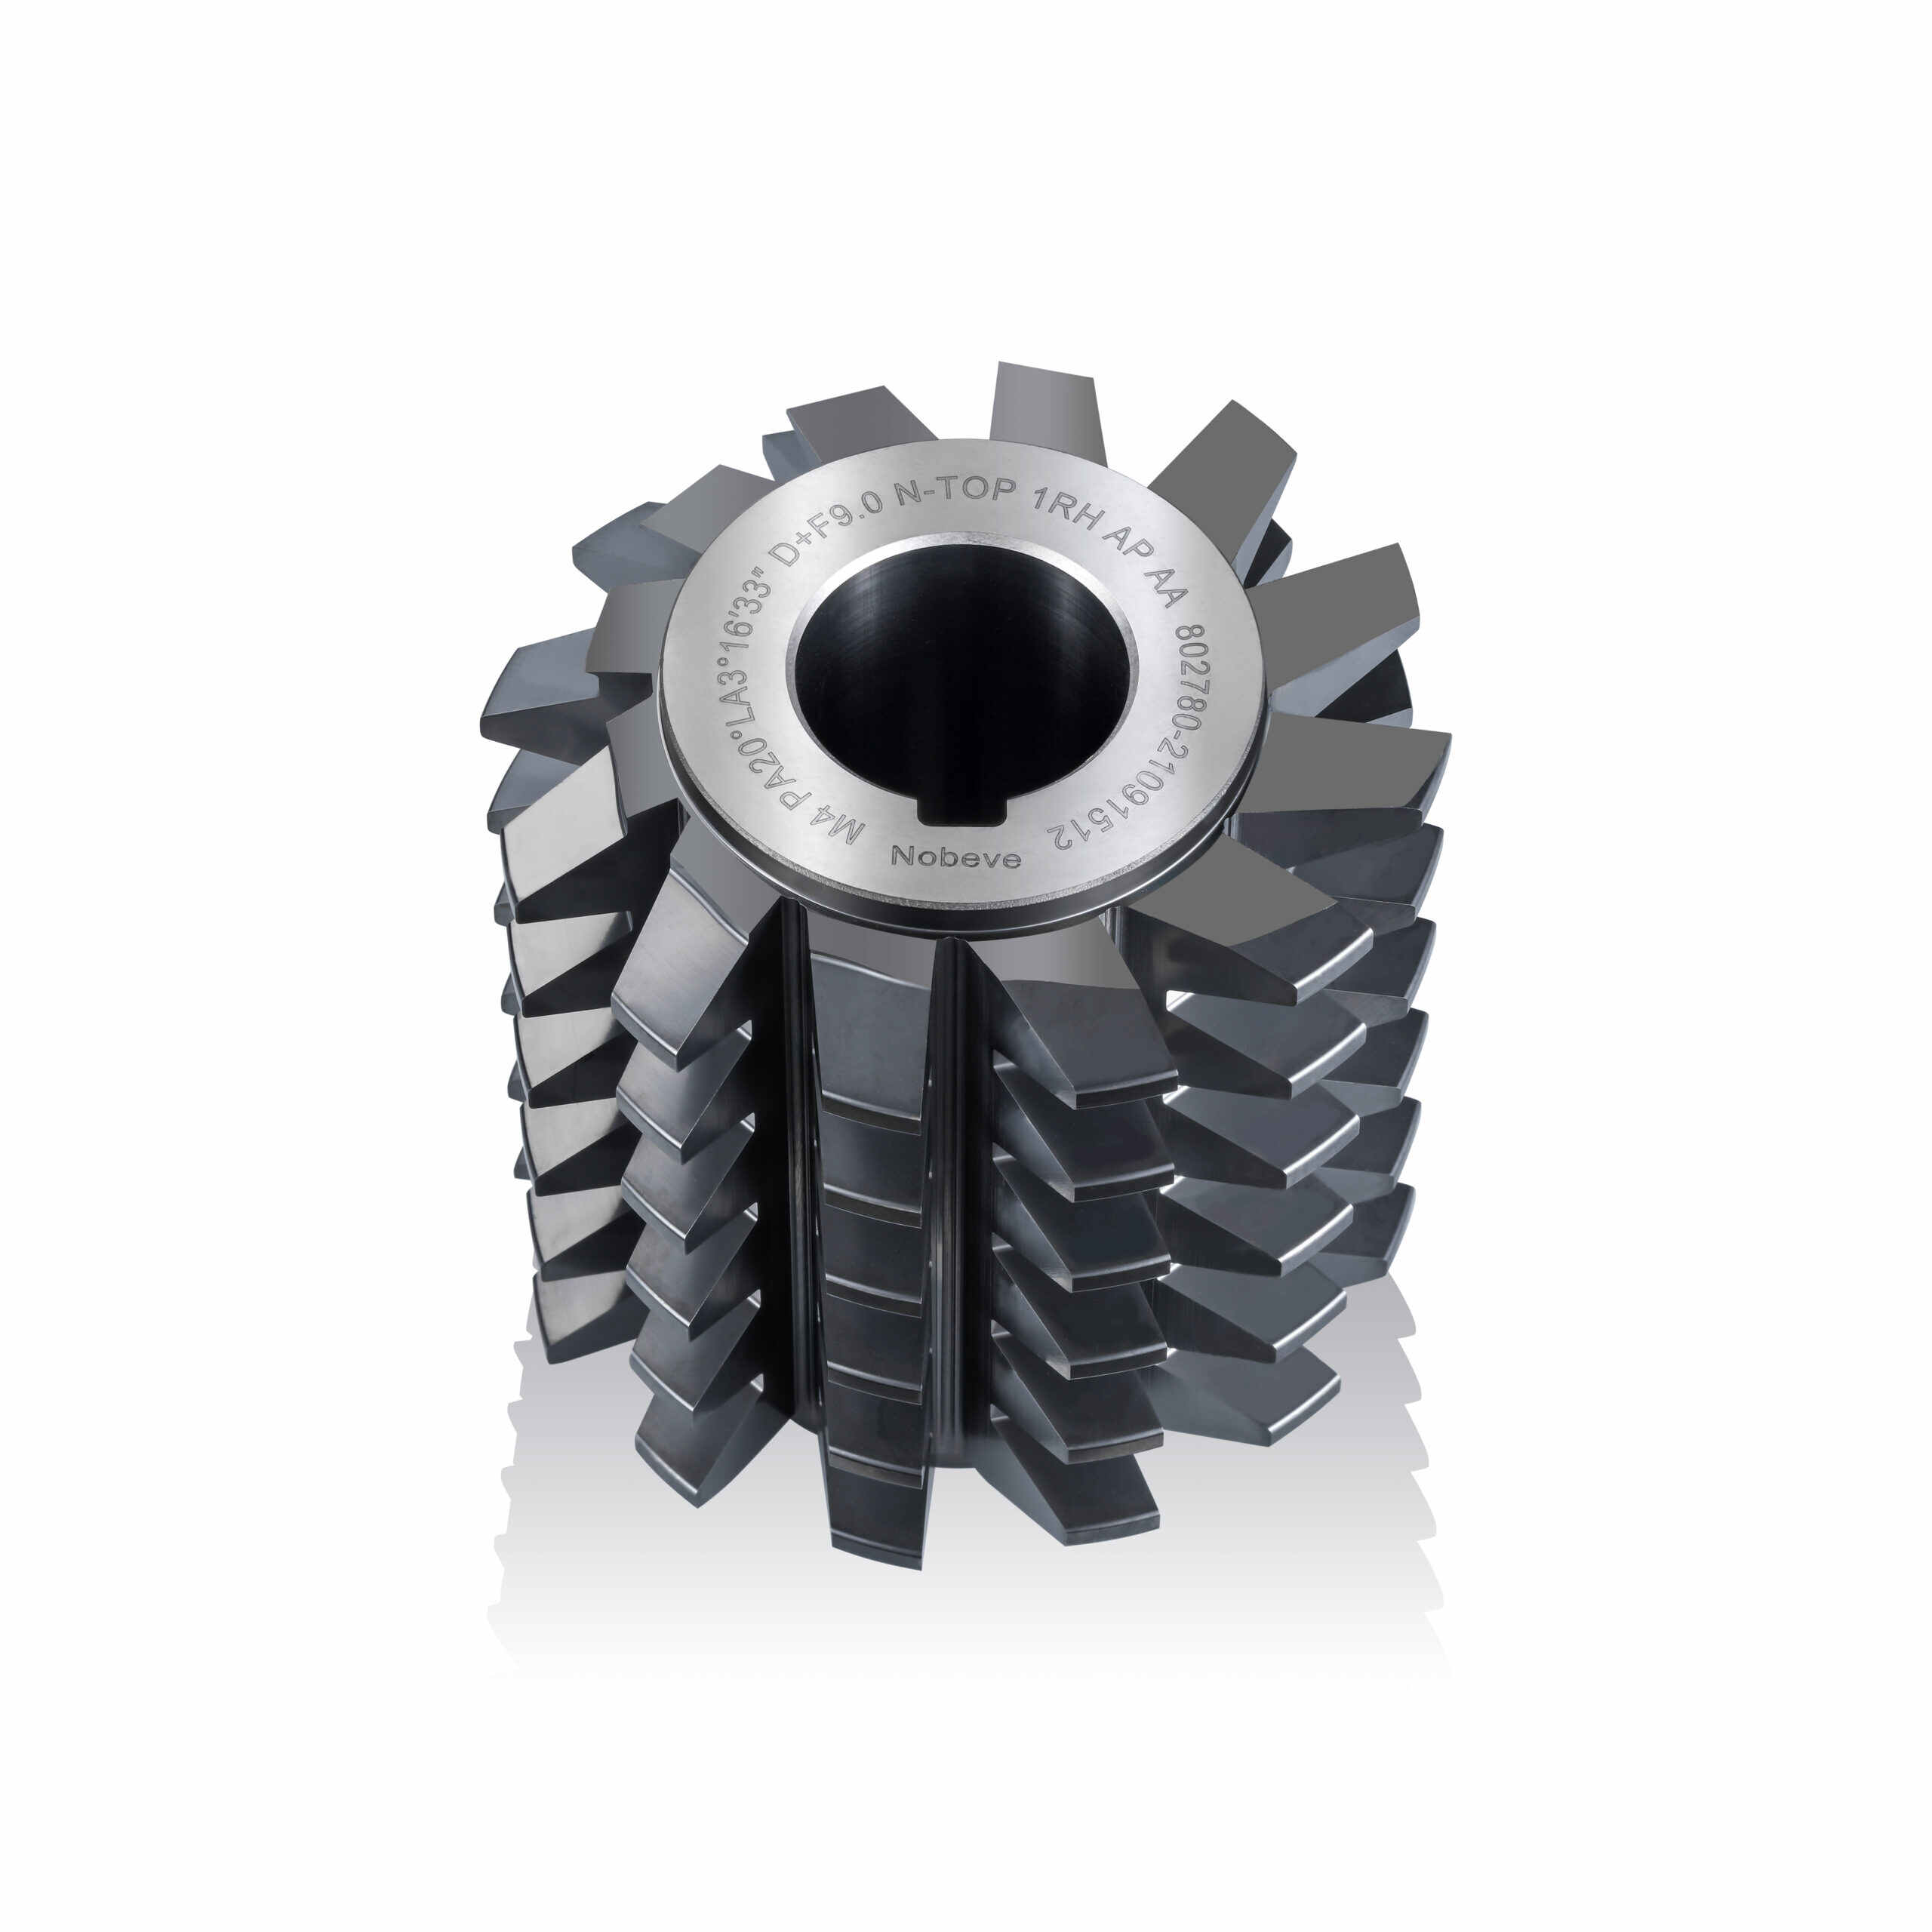
For persistent chatter on production runs, consider upgrading to Nobeve’s precision-ground hobs with tighter runout tolerances and optimized geometries for your specific machine setup.
Problem 2: Premature Hob Wear and Shortened Tool Life
Symptoms: The hob is reaching the end of its useful life much sooner than expected – sometimes after only a fraction of the anticipated parts per sharpening. Flank wear accelerates rapidly, surface finish degrades, and dimensional accuracy falls outside tolerance.
Root Causes
- Cutting speed too high for the material/tool combination
- Inadequate cooling or lubrication
- Workpiece material harder or more abrasive than expected
- Incorrect hob geometry for the material
- Built-up edge (BUE) formation causing chipout
Solutions
Diagnosing premature wear requires distinguishing between thermal damage (too fast, too hot) and mechanical damage (built-up edge, chipout):
- If wear is gradual but accelerated: Reduce cutting speed by 15-20%. For carbide tools cutting hardened steel, even small speed reductions significantly extend tool life. Use Nobeve’s cutting parameter calculator or consult their technical team for material-specific recommendations.
- If wear shows sudden acceleration: Check for BUE formation – small pieces of workpiece material welding to the hob tooth face. BUE causes chipout as it breaks loose. Switching to a coated hob (BALINIT ALCRONA PRO or ALTENSA) dramatically reduces BUE tendency by creating a chemically stable, low-friction surface.
- If the hob shows flank cratering or thermal cracks: The切削温度 is too high. Increase coolant flow, reduce cutting speed, or consider switching to a hob with a coating optimized for thermal resistance (BALINIT ALCRONA PRO for hard cutting).
- For maximum tool life: Implement a hob shift schedule to distribute wear across more cutting edges. A properly shifted hob can produce 3-5x more parts before resharpening is required.
Problem 3: Gear Tooth Profile Errors and Accuracy Drift
Symptoms: Gears pass visual inspection but fail when mated with their counterparts – they won’t mesh properly, run noisy, or cause premature bearing wear. Measurement on a gear checking machine reveals profile, lead, or pitch errors exceeding specifications.
Root Causes
- Machine accuracy drift: Gradual wear in the machine tool’s gear boxes, bearings, or lead screws
- Hob alignment error: The hob axis is not correctly positioned relative to the workpiece axis
- Thermal deformation: Heat from cutting or ambient temperature changes causing geometric errors
- Workpiece clamping deflection: The gear deforms slightly when clamped, springs back after unclamping
- Wrong hob generating gear: Using a hob with the wrong number of threads for the desired gear tooth count
Solutions
Accuracy problems require a systematic approach:
- Start with hob alignment: Use a dial test indicator to verify hob axis position. On most CNC gear machines, this is done automatically through software. On older machines, physical alignment is required and should be checked periodically.
- Implement warm-up procedures: Run the machine under no-load conditions for 15-30 minutes before production starts. This brings the machine to thermal equilibrium and minimizes drift during the production run.
- Check clamping strategy: Evaluate whether the workpiece is deflecting under clamping force. If so, consider alternative clamping methods (back-to-back mounting, mandrel-based fixturing) or reduce clamping force while ensuring adequate rigidity.
- Verify hob specifications: Confirm that the hob’s generating gear matches your workpiece tooth count. Using an incorrect generating gear produces a gear with wrong tooth proportions – this cannot be corrected through parameter adjustment.
- Monitor machine accuracy: Implement regular machine accuracy checks using a test arbor and dial indicators. Most gear machine builders provide test procedures. If accuracy drift exceeds machine specification, schedule maintenance before quality problems cascade through your production run.
For critical accuracy applications, Nobeve’s precision-ground hobs maintain their generating accuracy through extended production runs, reducing the frequency of corrections needed due to tool-related accuracy drift.
Problem 4: Poor Chip Evacuation in Deep Gear bores and Internal Gears
Symptoms: Chips accumulate in the gear tooth space or internal bore, causing surface scratches on finished teeth, jammed cutting action, and sudden tool breakage. The problem worsens as the gear bore gets deeper or the module gets smaller.
Root Causes
- Inadequate chip gullet capacity: The space between hob teeth for chip storage is insufficient for the material and cutting conditions
- Wrong chip breaking geometry: The hob’s chip gullet geometry doesn’t match the material’s chip formation characteristics
- Insufficient coolant direction and pressure: Coolant isn’t reaching the cutting zone or isn’t flushing chips effectively
- Excessive cutting depth: More material is being removed per pass than the chip gullet can accommodate
Solutions
- Specify the correct chip gullet geometry: When ordering gear hobs, specify the chip gullet depth and shape based on your material and cutting parameters. For tough materials like stainless steel or high-temperature alloys, a deeper gullet with chipbreaker geometry is essential. Standard catalog hobs may not have adequate gullet capacity for demanding applications.
- Use directed high-pressure coolant: Flood coolant from a single location often fails to flush chips from deep bores. Implement directed coolant nozzles that follow the cutting edge and flush chips away from the tooth space. For internal gear machining, through-coolant tool holders are essential.
- Reduce depth of cut per pass: Splitting a deep cut into multiple lighter passes dramatically improves chip evacuation. The tradeoff is longer cycle time – but it may be necessary for deep internal gears or challenging materials.
- Consider pre-machining: For large gear blanks, a roughing pass to open up the tooth space before finish cutting can make a significant difference. Nobeve’s pre-machining hob geometries are designed specifically for this two-stage approach.
For power skiving of internal gears, chip evacuation is even more critical. Nobeve’s W-Series skiving cutters feature optimized chip gullet geometries and are compatible with through-coolant holders for effective chip management in blind-bore applications.
Problem 5: Power Skiving Exit Burr and Surface Finish Issues
Symptoms: Power skived gears show a noticeable burr at the tooth exit edge, and surface finish in the skiving direction is rougher than specifications allow. The problem is inconsistent – some parts are acceptable, others require deburring or rework.
Root Causes
- Exit strategy: The cutter’s exit from the workpiece at the end of the skiving cycle creates a burr due to the cutting edge geometry
- Incorrect workpiece spindle synchronization: The workpiece isn’t rotating in the correct ratio to the skiving cutter, causing the cutting edge to rub rather than cut cleanly at the exit
- Excessive feed rates: Feed per tooth is too high for the material, causing tearing rather than clean chip formation
- Cutter edge quality: A dull or damaged cutting edge on the skiving cutter produces poor surface finish regardless of parameters
Solutions
- Optimize the exit move: Implement a controlled retract strategy where the cutter retracts while the workpiece continues to rotate. This allows the final cutting edges to exit cleanly without dragging through the workpiece material. Many modern CNC machines have canned cycles specifically optimized for skiving exit.
- Verify C-axis synchronization: Use a machining wizard or Nobeve’s skiving parameter calculator to verify the correct workpiece rotational speed. The workpiece should complete a fraction of a revolution past the tooth exit before the cutter retracts.
- Reduce feed per tooth: If surface finish is consistently rough, reduce the axial feed rate by 15-25%. For hardened materials (HRC 40+), lower feeds typically produce significantly better surface finishes.
- Inspect the skiving cutter: Check cutting edge condition under magnification. If any micro-chipping or rounding of the cutting edge is visible, replace or re-grind the cutter. Even minor edge deterioration has a disproportionate effect on surface finish.
- Consider toolpath strategy: Some advanced CAM systems offer trochoidal or oscillating skiving toolpaths that reduce the severity of the exit condition by distributing the cutting action more evenly.
For Nobeve’s W-Series solid carbide skiving cutters, Nobeve provides detailed exit strategy recommendations and CNC code templates optimized for different machine control systems (Siemens, Fanuc, Heidenhain).
Frequently Asked Questions
Why do my chatter marks only appear on certain tooth positions?
If chatter marks are concentrated in specific tooth positions rather than uniform across the gear, the most likely cause is workpiece clamping eccentricity. The workpiece may be rotating slightly off-center, causing varying effective cutting depths. Check the runout of your mounting arbor and the concentricity of the gear blank bore relative to its outer diameter. Even 0.01 mm of runout can produce position-dependent chatter in sensitive applications.
My hob is brand new but showing excessive wear – what’s going on?
New hob wear almost always points to one of three causes: (1) incorrect initial parameters – the machine was running at settings optimized for a different hob, (2) material variation – the workpiece material is harder or more abrasive than expected, or (3) built-up edge from insufficient lubrication – the coolant system isn’t delivering adequate lubrication at the start of the cutting action. If in doubt, reduce speed and feed by 20% on first use of a new batch of hobs, then optimize from there.
Is it worth investing in an in-process tool monitoring system?
For high-volume production (100,000+ parts/year) of critical gears, in-process monitoring is one of the best investments you can make. Acoustic emission sensors, spindle power monitoring, and in-process gear metrology can detect problems before they result in scrap. For lower volumes, regular first-piece inspection and statistical process control (SPC) on key characteristics provide adequate protection against quality escapes.
How do I reduce noise in my gear hobbing operation without redesigning the gear?
Gear noise in hobbing is most commonly caused by lead errors (the gear teeth aren’t perfectly straight along their axis), profile errors, or tooth spacing variations. Start by verifying the hob generating accuracy and machine accuracy. Nobeve’s precision-ground hobs maintain tight tolerances on all generating geometry – a significant advantage for noise-critical applications like automotive transmissions.
Can I run dry cutting (no coolant) for all gear hobbing applications?
No. Dry cutting (or MQL) works best for: low-to-medium hardness materials (HRC <= 45), fine-to-medium module gears, and production environments where coolant management is costly. Wet cutting is still preferred for: large module gears where chip evacuation is challenging, high-hardness materials requiring maximum thermal management, and machines without MQL capability. Attempting to force dry cutting in the wrong application typically results in poor surface finish, accelerated wear, and unacceptable chip evacuation.
Conclusion: Root Cause Analysis is the Foundation of Process Improvement
The five problems covered in this guide – chatter, premature wear, accuracy drift, chip evacuation, and skiving exit burrs – share one common thread: they’re all symptoms of mismatched process parameters or equipment conditions. In every case, the solution starts with accurate diagnosis of the root cause.
The most effective approach to reducing gear machining problems is a combination of:
- Proper tool selection – matching the hob or skiving cutter to your material, module, and volume
- Validated cutting parameters – confirmed through first-article inspection, not borrowed from a catalog
- Regular machine maintenance – especially thermal stability and spindle condition
- Process monitoring – catching problems before they become scrap
Nobeve’s technical engineering team works directly with manufacturers worldwide to diagnose gear machining problems, optimize processes, and select the right tooling. Whether you’re facing chatter in a high-speed hobbing cell or exit burr issues in power skiving, the team can provide application-specific recommendations backed by decades of gear manufacturing experience.
Don’t let gear machining problems eat into your margins. Contact Nobeve today to discuss your production challenges and discover what’s possible with the right process optimization.

